Ledger.io/Start* | The Ultimate Guide to Getting Started
In a world where digital threats continue to rise, securing your cryptocurrency is more important than ever. Ledger, one of the leading providers of hardware wallets, offers users a robust and secure way to store their crypto assets offline. If you’ve recently purchased a Ledger Nano S Plus or Ledger Nano X, your journey starts at Ledger.io/Start—the official setup page for all Ledger devices.
This article will walk you through everything you need to know about Ledger.io/Start, how to safely set up your wallet, and why it’s critical to follow the correct steps for maximum security.
🔒 Why Choose a Ledger Hardware Wallet?
Before we dive into the setup process, let’s quickly cover why using a hardware wallet like Ledger is a smart move:
- Offline storage: Unlike hot wallets connected to the internet, hardware wallets keep your private keys offline, reducing exposure to hackers.
- Secure chip technology: Ledger wallets use Secure Element (SE) chips, the same tech used in passports and credit cards.
- Support for 5,500+ assets: Store Bitcoin, Ethereum, XRP, Solana, NFTs, and thousands of other tokens safely.
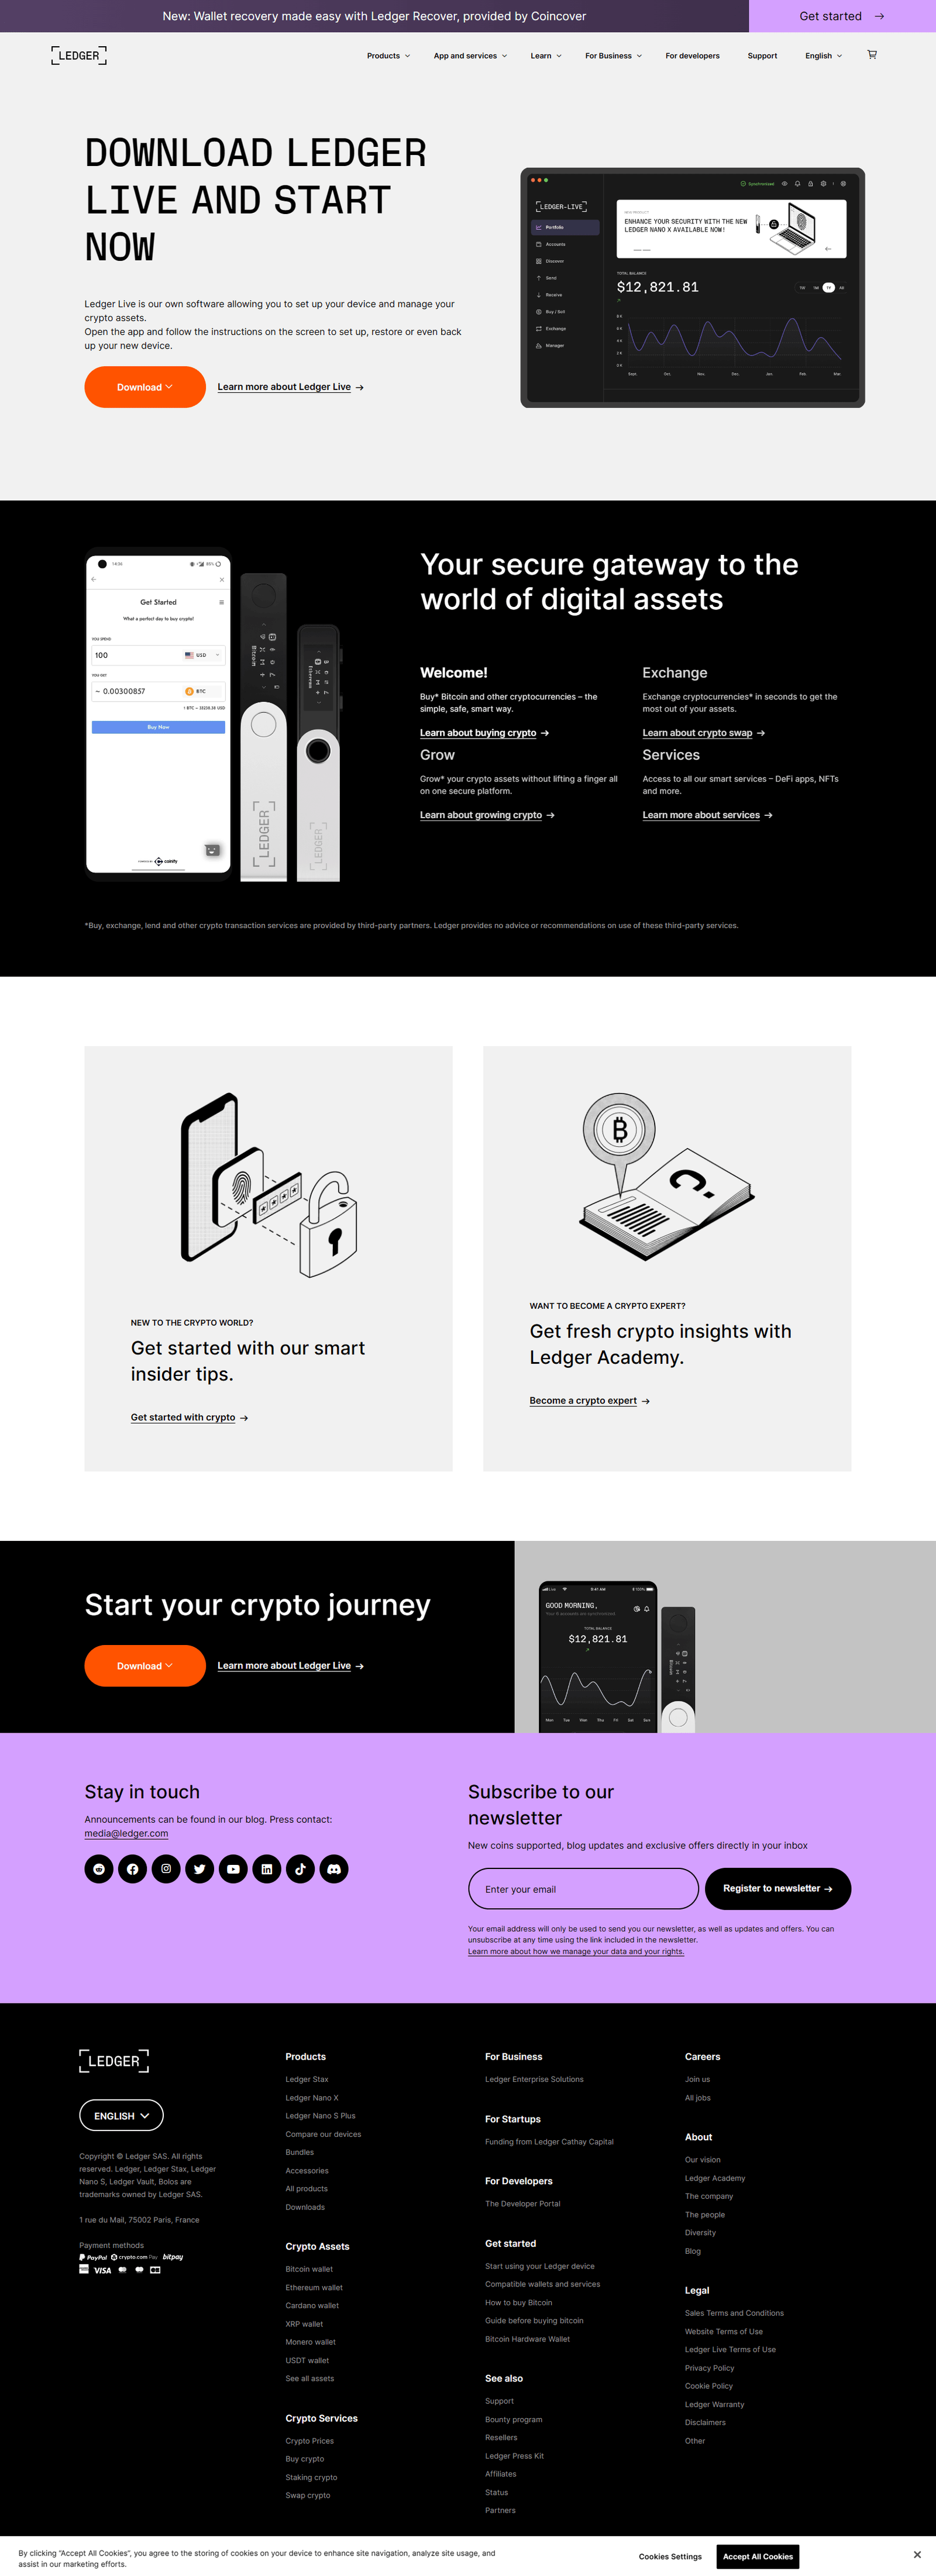
- Ledger Live integration: Easily manage your crypto portfolio using the Ledger Live app on desktop or mobile.
🛠 Step-by-Step Setup via Ledger.io/Start
When you visit Ledger.io/Start, you’ll be redirected to the official onboarding guide maintained by Ledger. Here's a step-by-step breakdown of what you’ll encounter and what to expect:
1. Choose Your Device
Once on Ledger.io/Start, select the device you’ve purchased:
- Ledger Nano S Plus
- Ledger Nano X
- Ledger Stax (if applicable)
This ensures the setup guide tailors instructions to your exact model.
2. Download Ledger Live
You’ll be prompted to download Ledger Live, the official companion app that allows you to:
- Initialize and manage your wallet
- Add cryptocurrency accounts
- Send and receive funds
- Check balances and market trends
- Install apps for different coins
👉 Important: Only download Ledger Live from the official site to avoid phishing scams.
3. Initialize Your Device
Connect your Ledger wallet via USB (Nano S Plus) or Bluetooth (Nano X), and follow the prompts:
- Create a new wallet
- The device will generate a unique 24-word recovery phrase. Write it down and store it offline and securely.
- Set a PIN code
- Choose a 4- to 8-digit PIN. Never share it.
⚠️ Warning: Ledger will never ask for your recovery phrase. If someone does, it's a scam.
4. Verify Recovery Phrase
Your device will ask you to confirm your 24-word phrase to make sure you wrote it down correctly. This phrase is the only way to recover your wallet if the device is lost or damaged.
5. Add Cryptocurrency Accounts
Once the setup is complete, you can begin adding accounts in Ledger Live:
- Open Ledger Live and navigate to "Accounts"
- Choose a supported crypto (like BTC or ETH)
- Install the corresponding app on your device via Ledger Live
- Create and manage wallets for each crypto asset
🛡 Security Tips for New Users
Getting started at Ledger.io/Start is easy—but keeping your assets secure requires ongoing vigilance. Here are some tips:
- NEVER share your 24-word recovery phrase
- Only use Ledger Live from the official website
- Buy your Ledger device from the official store or a verified retailer to avoid tampered products
- Enable password lock and use biometric login if using Ledger Live mobile
- Use a metal recovery phrase backup for fire and water resistance
📲 What Can You Do with Ledger Live?
Once your device is set up through Ledger.io/Start, Ledger Live becomes your control center:
- Swap crypto via integrated exchange partners (e.g., Changelly, 1inch)
- Buy crypto with fiat currencies (credit card, bank transfer)
- Stake assets like ETH, DOT, or ATOM directly
- Track your portfolio in real-time
- Connect to DApps via Ledger’s Web3 integration (through WalletConnect or MetaMask)
🚀 Ledger.io/Start for Web3 and NFT Users
Ledger isn’t just for HODLers. Web3 users can interact with DeFi protocols, DApps, and NFT marketplaces using their Ledger wallet. After setup:
- Connect your wallet to MetaMask (configured to use Ledger as a hardware signer)
- Access platforms like Uniswap, OpenSea, Aave, and more
- Sign transactions on-device, ensuring no malicious code is executed
📦 What Comes in the Box?
When you unbox your Ledger device, make sure it includes:
- The Ledger device (Nano S Plus or Nano X)
- USB cable
- Recovery sheet (for writing down your 24-word phrase)
- Keychain accessories
- Setup instructions
If any of these are missing or if the box looks tampered with, do not use the device and contact Ledger support.
✅ Final Thoughts
Setting up your Ledger wallet at Ledger.io/Start is the first and most important step in protecting your digital assets. Ledger makes the process simple, but it’s up to you to follow security best practices.